In modern day, building a cool websites involves the step to convert PSD file which was created using Photoshop to HTML. There are many tools to do that. Here we will be discussing about how to convert PSD to HTML by using the easiest way – Ultimate CSS Framework. This framework first helps to create designs using PSD file. Then using CSS classes you can align your design.
First you have to download Ultimate CSS Framework from the link:
You have to become a member of Ultimate Designer Toolkit from where you can download ultimate CSS Framework and more than 60,000 premium designs.
Layout Option
Now we will look at the layout option. Here you can see how many things you can create with this ultimate framework using already made classes. After you get the framework .zip file first extract it to your hard drive.
The first step is to open the PSD file which was included in the “PSD Template” folder. Name of the file is “framework-css.psd”. Open the file. It will look like the below image.
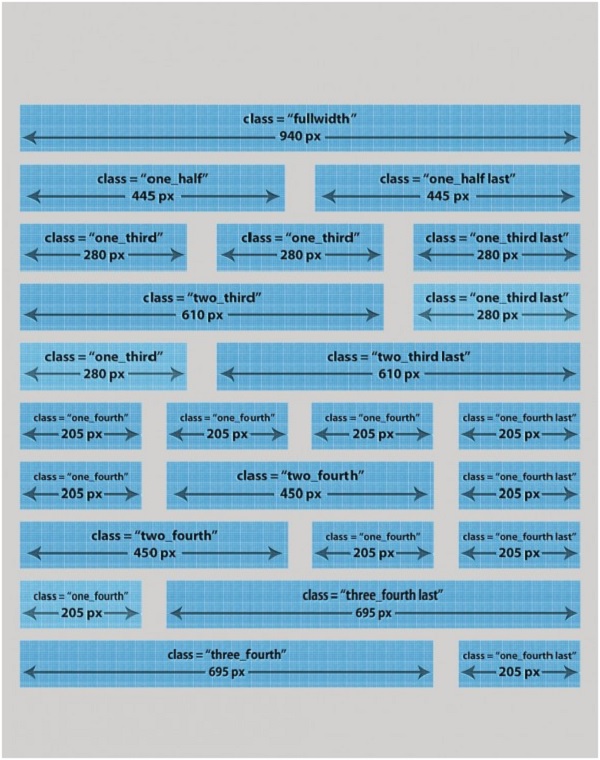
If your layout is not looking the same then click on the eye which indicate the layer visibility and try to make the folder with the blue blueprints visible.

Guides and Grid
Also it is important to enable the Guides or the Grid as shown below:-
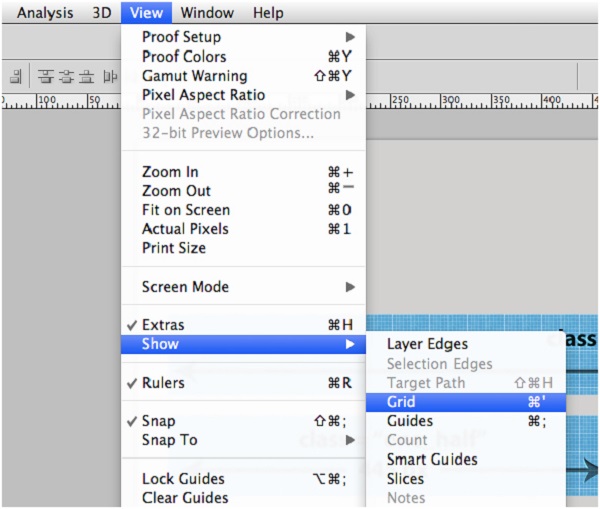
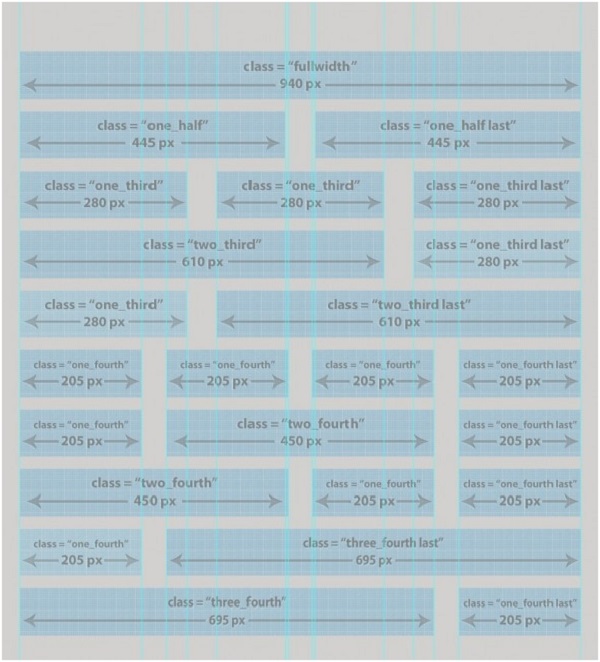
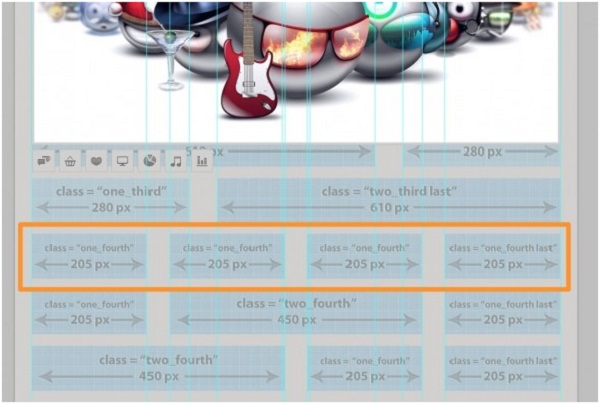
When you will enable the Guides then you will see some vertical blue lines. These lines will ultimately help you to align any element you like in your future layouts. The guides are created in such a way to allow you to create different types of layouts.
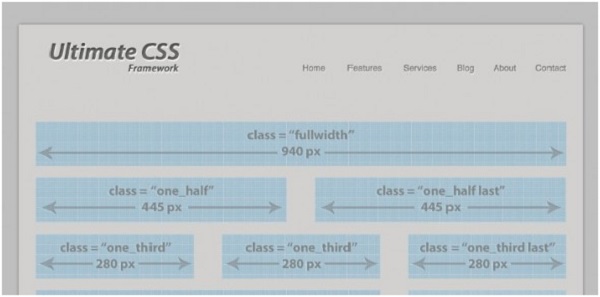
Text Logo and Horizontal Menu
Here I will create a simple text logo and a horizontal menu.
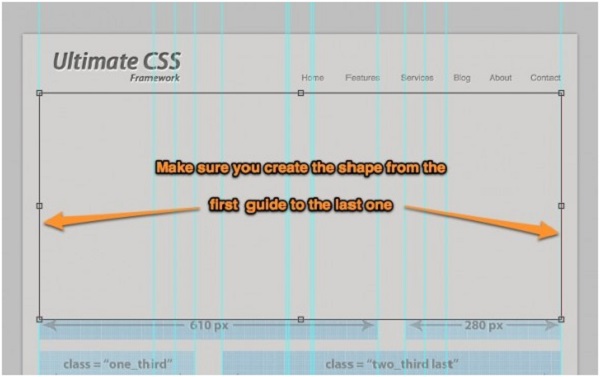
Now I will create the first shape from this layout which will be used to create a slideshow.
In order to create the shape, you have to use Rectangle Tool and draw a shape from the left guide to the right guide.
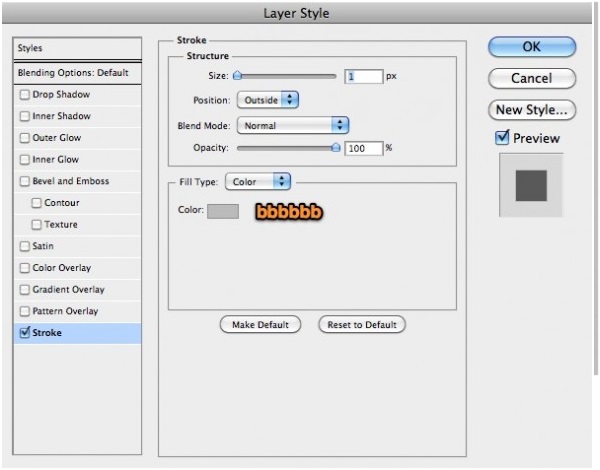
Adding Layer Style
Now I will add a simple layer style for this shape. Later we will made a thin line using CSS class. Also we can create this thin border in Photoshop.
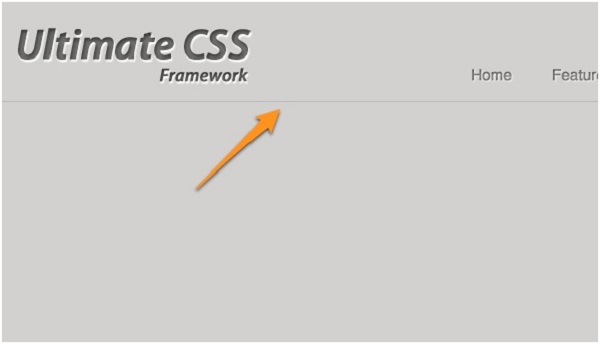
Below you can see the small thin line.
Gap between Images and Border
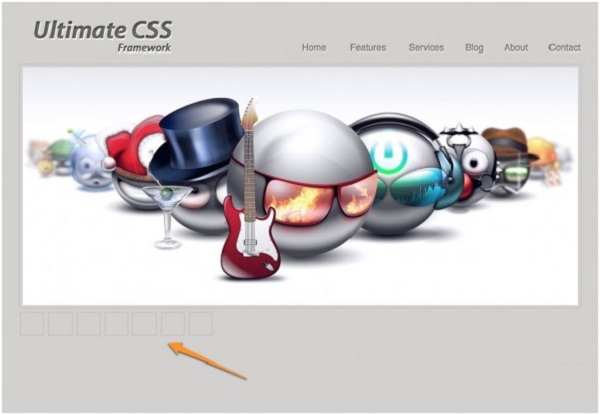
In the middle of layout we can place any image with some smileys.
From the first Guide till the last one, you will have 940 pixels. You can see the following image in which we have kept a small gap between the image with the smileys and the border. Hence we can create the image with the size of 930 pixels wide and any image height.

Now under this slideshow image we can put some other shape with the same border and using the same layer styles as above.
Now under the icons we will try to create 4 columns as 1-1-1-1. Now align your text or images over the blue blueprints. Guides will help you in aligning any element you want.
Now we will create the PSD to HTML part. You just need to know the css classes.
This tutorial is divided into 6 steps:-
1. Header – Logo and menu
2. Slideshow
3. Icons under the slideshow
4. Four columns area (Width is divided into 4)
5. Two column area (Width is divided into 3)
6. Footer
Head Container
Now you have to open the “index.html” file from the “HTML-CSS” folder. You can also create another HTML file with other name and can place it in the same folder. Now add following lines of codes in this new file:-
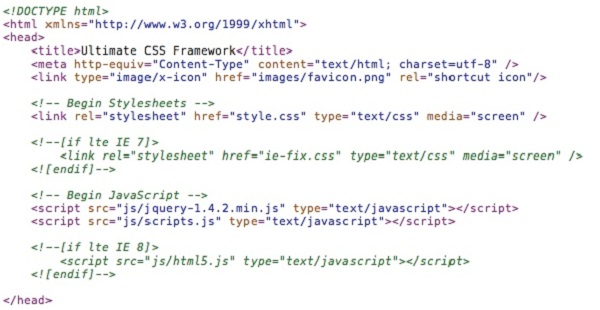
Under head element which is a container you can add all head elements. These elements inside “head” include scripts, instruction for browser where to find style sheets, meta information etc. We can add the following tags in the head section : Title, base, link, meta, script and style.
Body and Header Tag
After the head container, you can add the body of the layout:-

Now we will place the header container. We can add logo and menu in the header of the website. Add the following lines of codes inside the
tag.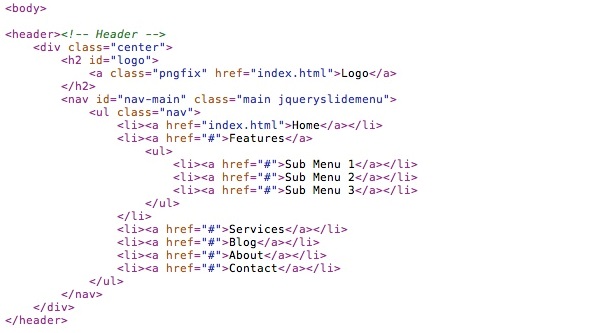
Using Div
As in HTML 5 you can use –
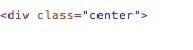
Using this div you can place the logo and the menu in the center of the website. You can use this div whenever you want to center your layout.
After that you can add the logo and the navigation bar. The benefit of this framework is that you don’t need to write CSS for creating the simple websites.
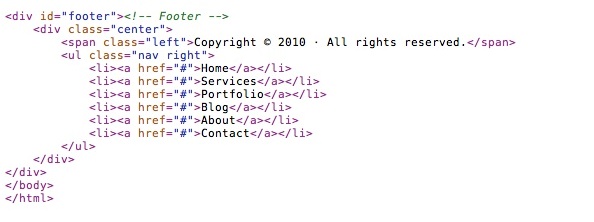
Now we will move to the footer of the layout.
You have to place the following lines of code after the header container.
To start creating content you need 6 areas:-
1. Header – Logo on the menu
2. Slideshow
3. Icons under sliedeshow
4. Four columns area (width divided in four)
5. Two column area (width divided into three)
6. Footer
If you have header and the footer then you need to create only the 2,3,4,5 steps.
In order to place the slideshow, add a new div to center all other areas.

Hence if you want to add the slideshow area you code will be like:-

Saving Images from layered PSD
Now if you want to add some text and some custom images then lot of people use the slice tool. We recommend these following steps when I want to extract the images from the layered PSD layout.
1. Open a new document with transparent background.
2. From PSD layout, drag each image on my empty document.
3. Go to image > Trim
4. Make sure you have (Top, Bottom, Left and Right) checked and then press OK.
5. Save images in .png format by pressing here:-
File > Save for Web and Devices
In these simple steps you can save all of your images.
Hence using Ultimate CSS Framework, you can create CSS/XHTML websites very fast if you use the CSS classes. There are many other methods to convert PSD to HTML but by our analyses we found that converting PSD to HTML by using Ultimate CSS Framework is more easy and efficient and in then end we will get a website which will have great look and feel as well as high speed in loading.
