Mockup or mock-up is a model of a product made in natural proportions, designed to quickly present the product design in its finished form, in order to better represent the design of the final product.
The essence of it is the following: you have an image of the product in the right angle, in the right situation, and you seem to apply your design to it. In the process of its “as if” application all the necessary transformations take place, it is a perspective, all sorts of distortions, overlapping effects, etc.
How does it work?
1. You load your mockup (PSD) into Photoshop and in the layer management area, look for a layer with a smart object icon. Most often this layer is signed “Put your design here”, “Your design”, “Double click me”, “Edit me”, etc.
2. Click on the area marked in red in the picture below, namely the smart layer icon
3. You will see a new window in which to place your design, and then press Ctrl+S (save)
Go back to the previous window, and your design on the product!
Then, as usual, save everything to *.JPG and send it to the customer.
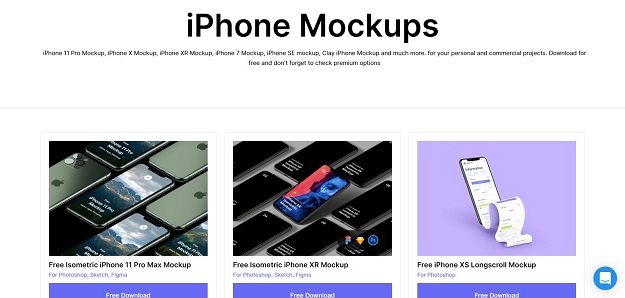
On the Internet, you can find a great number of mockups of different quality, type, style, paid and free like this iPhone mockup.
But, not seldom happens so that we cannot find the product we need. For this purpose and this material will be useful. In it, I will tell about the basics of the creation and work of mockups.
How to make your own mockup?
First of all, we will find a picture of the good quality of some unusual objects without drawings, or rather white color. Google will help you here.
Take an object of a non-standard shape, such as a teapot.
So, let’s start…
Let’s start by separating the picture from the background. It can be removed at all, the background I will have its own.
Then we create a new empty layer and convert it into a smart object. As I said before, the basis of the mockup is a smart object.
On an empty layer, right-click and choose “Convert to smart object”, after which the icon of your layer will be a smart object.
Next, apply the mask of the previous layer to an empty layer. On the icon of the previous layer, right-click and click “Select pixels”. Then without deselecting, click on an empty layer and under the layers area click on the layer mask icon. If you have done everything correctly, a layer with a white silhouette of the previous layer will be added to your empty layer, in my case with the kettle silhouette.
Now, open our smart object by double-clicking on this icon: and for the convenience of work we place a grid in it (I drew mine in the illustrator), press CTRL+S and return to the previous tab.
For convenience, apply the “Multiplication” effect to the grid layer (Empty layer).
Now the most time-consuming part of the mockup creation begins, it is distortion. Spatial thinking is essential here.
To do this, click on the chain links between the layer itself and the masks on your grid layer (Empty layer). If the links are missing, you have done everything correctly.
Now click on the mesh layer to select it with white corners and follow the path: Edit → Puppet Deformity.
We see. That our layer is covered with an obscure grid. Now. We need to click it along the contour, placing nodes to fix our background. Don’t be afraid to make a mistake, the program won’t let you put the node in the wrong place, which will be reported to you by a pop-up dialog window.
This is a time-consuming process, so be patient.
Then we place markers with the same tool and deform our layer with a grid (empty layer) so that the grid naturally fits the object itself. On termination of the deformation press Enter. If you have made mistakes at deformation most likely that that is appreciable on a grid, will not be visible on a product with other design if, certainly, on a basis of your design there is no grid.
At this stage, you can put any design in your smart object to see if you have deformed the layer well.

