
So you want to add Facebook comments on WordPress? Great.
Facebook is insanely popular, with around 2 billion active users per month, so of course, letting people know how using their Facebook profiles may be a good idea.
The social network giant provides a platform for different website owners, product owners, advertising, etc., to increase user commitments by sharing posts and giving reviews in the comment section.
So in this article, I will show you how to install and set up the Facebook comment section on your WordPress site through a plugin that lets you completely replace the native WordPress comments sections on your site with Facebook comments.
Before embarking on the installation process, you need to know why this comment section plays a vital role for any website owner, blogger, and developer and why Facebook is a better marketing channel.
FB how to impact your site section:
• Facebook Comments boost commitments
• More likely to comment because it’s easy
• No extra signup steps to take for users
• It removes the anonymity factor
• People are less likely to leave spam comments
• And many more reasons you’ll enjoy
Now, I will show you the process of adding Facebook Comments to your WordPress posts in four simple steps. Let’s dive in.
Steps to Add Comments via WordPress Facebook Comments Plugin
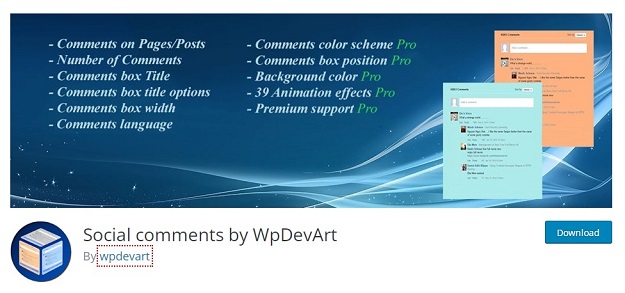
Embedding Facebook comments in WordPress is easy. I will use the WpDevArt Social Comments Plugin to demonstrate this tutorial, which is available for both a free and premium version. Since the Free version provides enough features for my need, I will skip purchasing the premium.
Step 1: Install WpDevArt Social Comments Plugin
First, you need to install the plugin from the WordPress Plugin List.
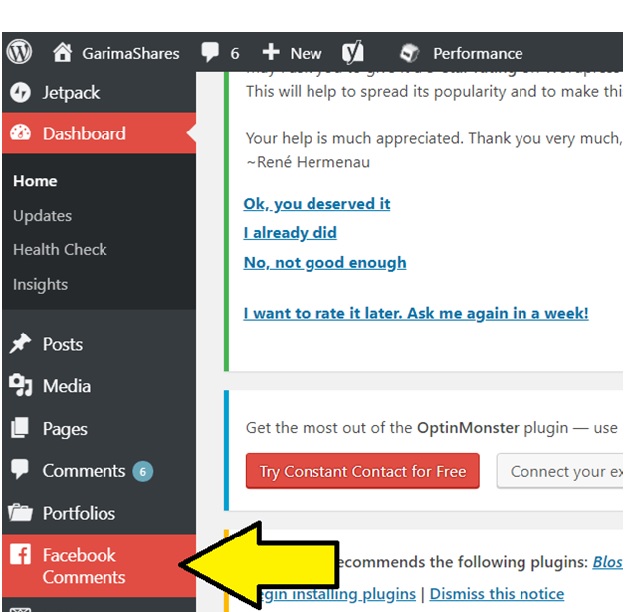
Go to Dashboard> Plugins> Add New and type WpDevArt Facebook Comments Plugin in the search bar, then click on Install. Once done, Activate it.
After activation, you will see a new tab in your Dashboard named “FB Comments,” as highlighted below.
Step 2: Creating an App ID on Facebook Developers
Now you need to configure the plugin for which it requires a Facebook App ID. If you already have one, you can skip this step.
You need to click here and log in using your Facebook account creditors if you don’t. Then, Create a New App ID and add a Display Name to it.
After creating the App ID, copy the App ID and set its status ON to bring it to live, as shown in the image below.
Step 3: Configuration of Plugin
Next, you need to go to your WordPress Dashboard and click on FB Comments> FB comments. Under Comment box settings, past the ID you copied earlier in the APP ID box.
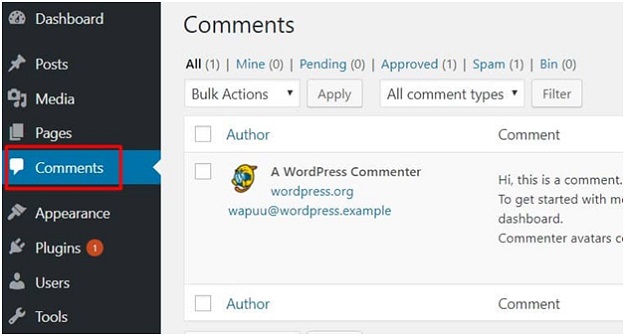
Step 4: Testing of Plugin
Congrats! You are done configuring Facebook comments on your blog. You just need to check it by creating a new post and visiting your site.
If you’ve followed the steps correctly, you should be able to see the comment option under your post, just like in the image below.
So now you know that the WpDevArt Social Comments Plugin is a powerful tool to insert Facebook comments on your WordPress Site.
Don’t Miss-
How to Design Facebook Ad Images Like a Pro
How to Create a Winning Facebook Messenger Strategy with MobileMonkey
Also, here’s an article for you where we highlighted the best social media plugins to integrate social media platforms to your WordPress site if you wish to incorporate other social media options!